Comedically Musical – Good Times

Screen Shot 2013-08-28 at 11.26.56 PM

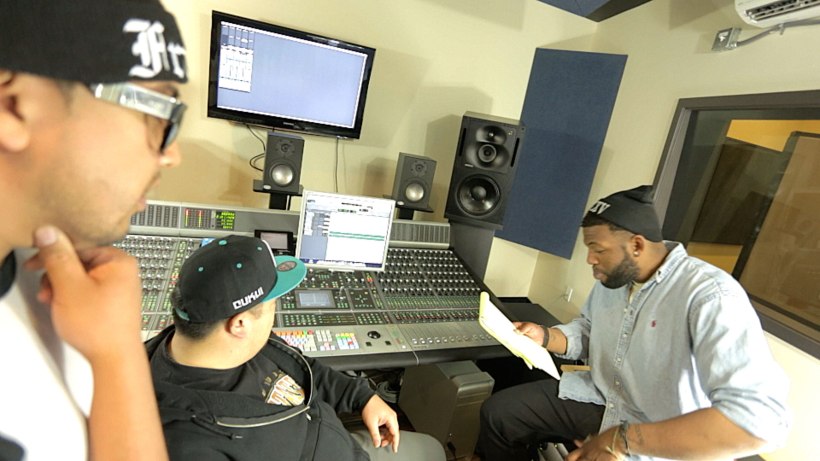
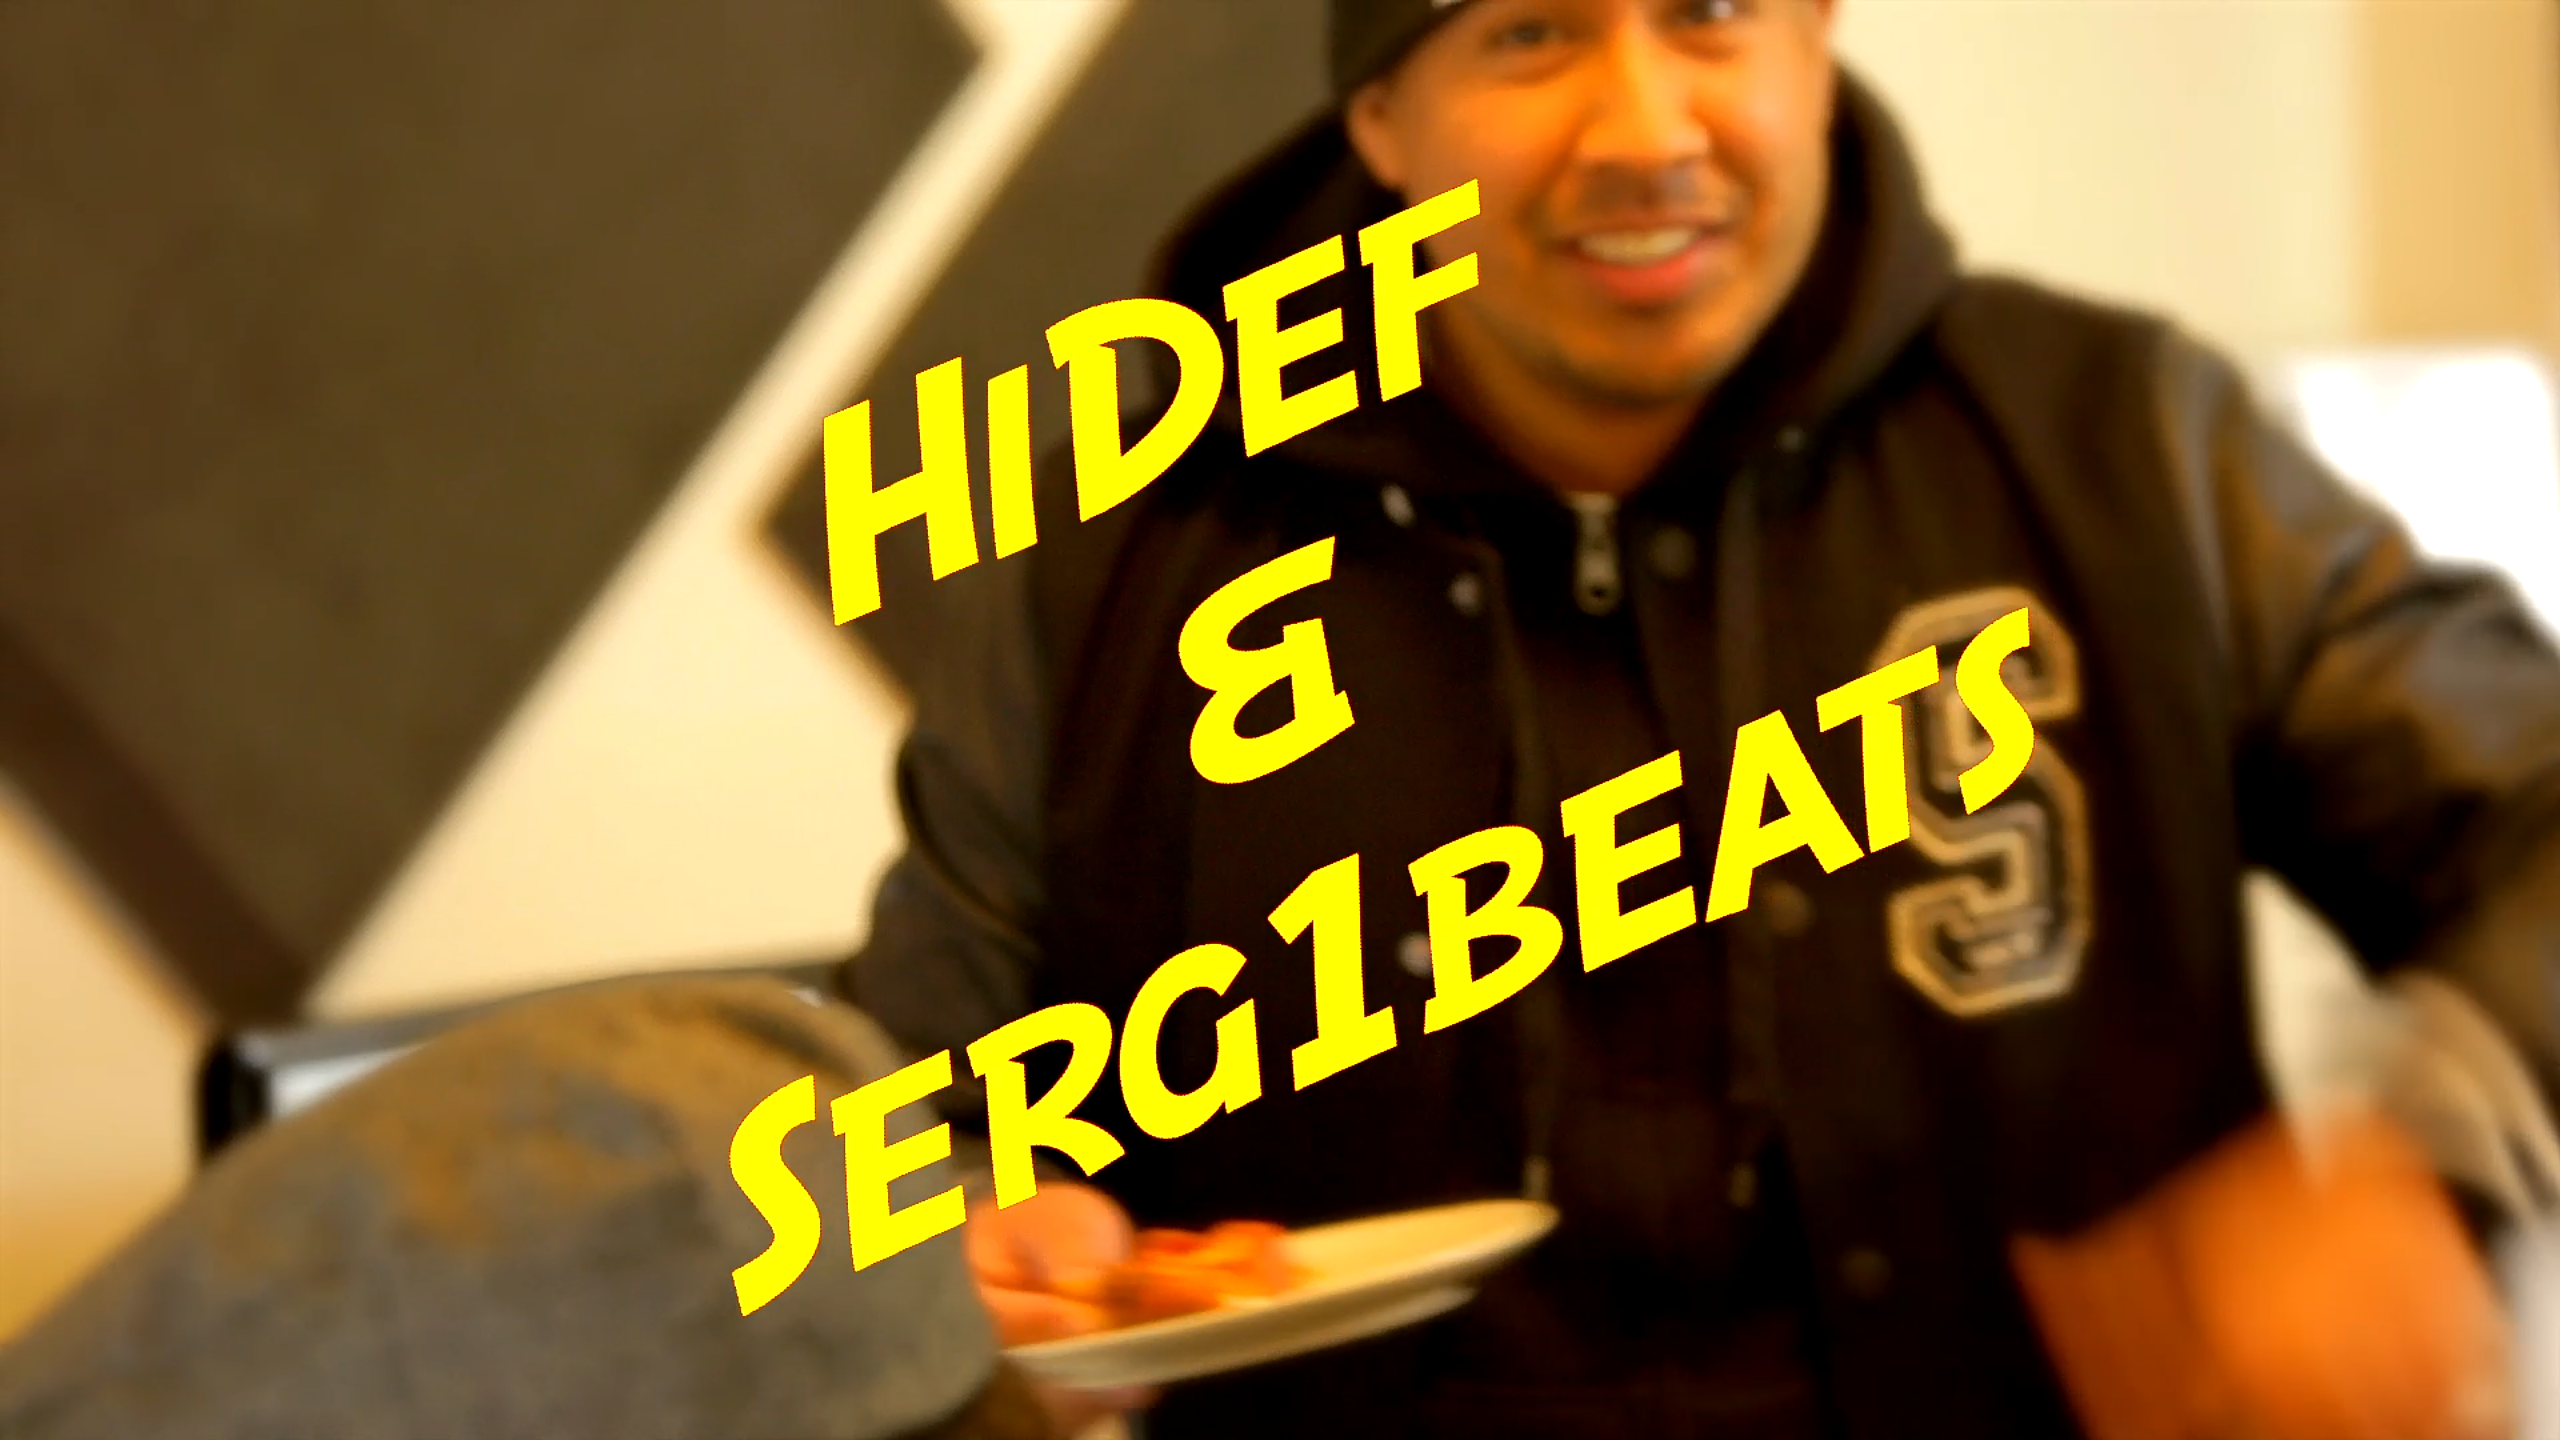
My first clients were a team of great producers that called themselves the Frat. They wanted to do an “Office” style take on the lives of being music producers and the struggles they encounter working with each other. The two stars were Serge1beats who assumed the “Diva” role and Mark aka “HiDef” played the workhorse, straight man. I use the word “played” loosely as often times their real comedic selves would shine through. Some of the best stuff happened off of improv, in fact that’s what it was. Improv shot like “The Office.” It’s seems as though they certainly could have a career doing just that, snapping witty insults along the way.

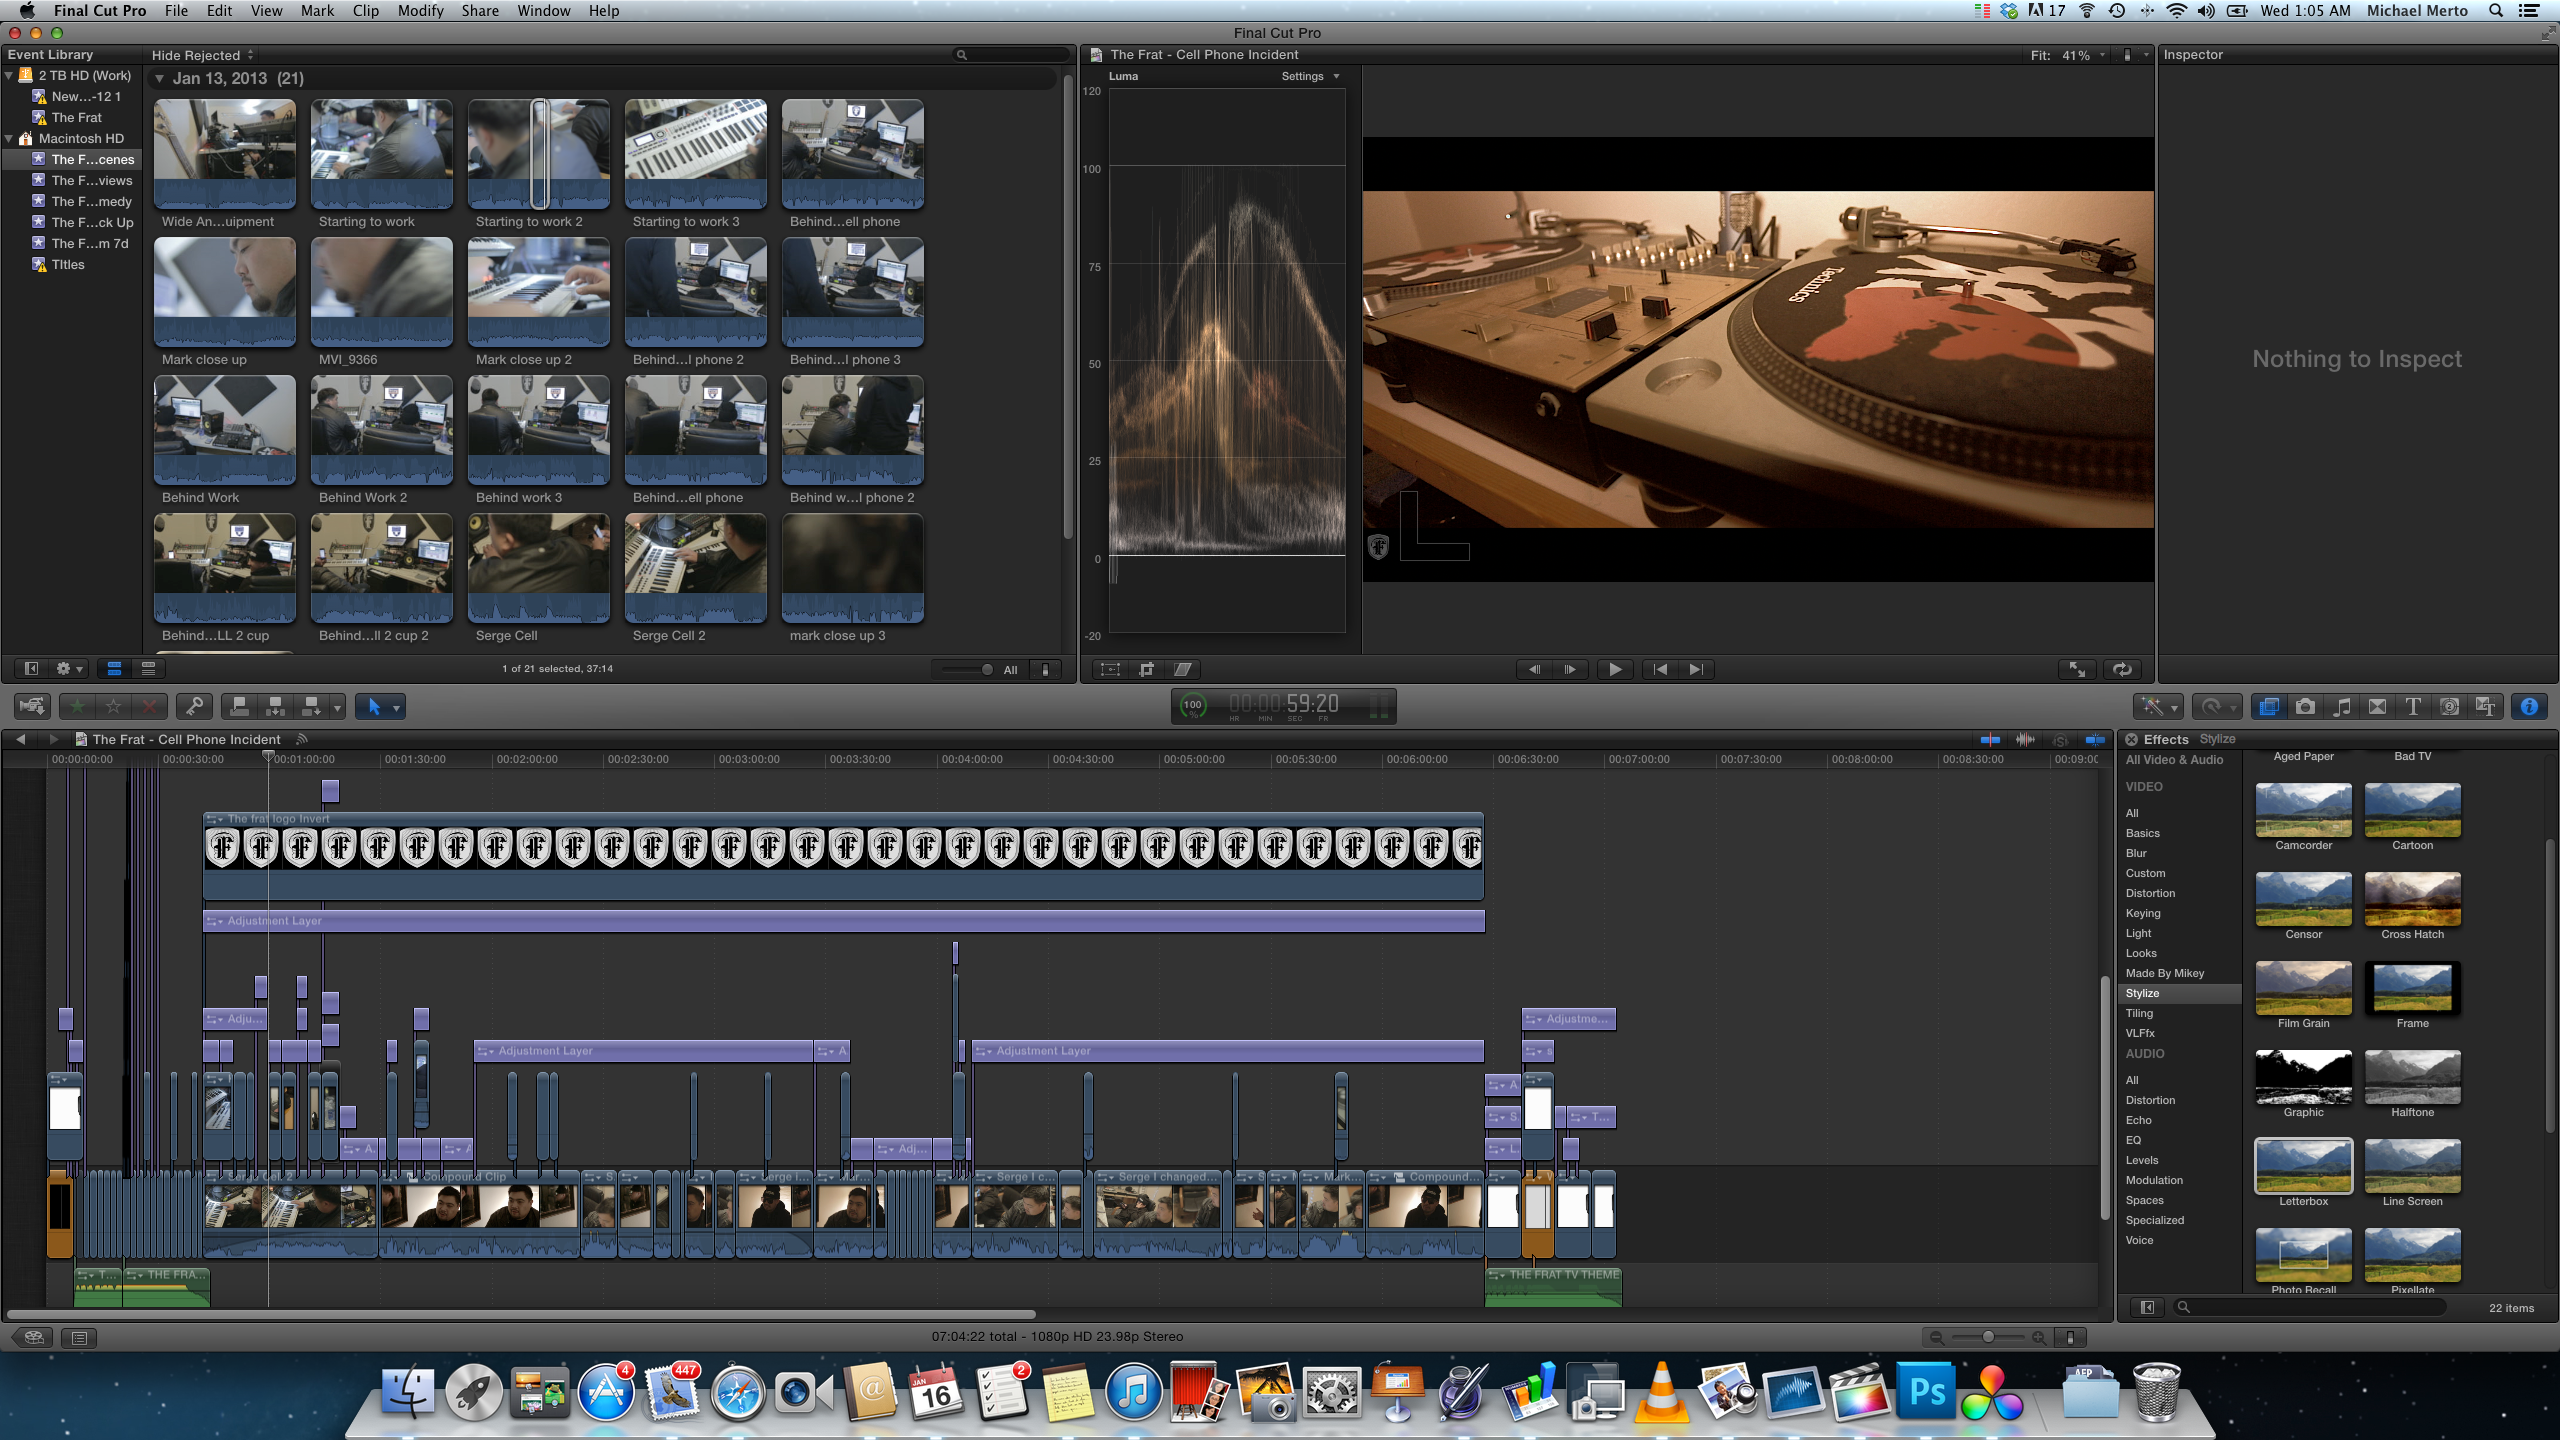
Everything was captured with either a Canon 5d Mark iii or 7d. Shot in Cinestyle, graded and chopped in FCPX. If I could go back I’d have just shot it in Neutral as I noticed that’s where my grading ended up most of the time. Plus, we get a little less noise in the shadows and more importantly it saves some time. If I really could revert time, I’d have suggested (come to think of it, they may have) re-shooting the interviews in episode 1. It’s painful now to see how underexposed I was during those segments, slightly confused by the backlight throwing off the meter and how bad the preamps are on the 5d.

I’ve since learned to never trust the back of the LCD screen and to get hot mics. The Rode Video Mic Pro has a +20db setting that allows me to dial the gain on the 5d all the way down. This results in substantially less noise versus setting the mic at 0db and pumping up the gain on the 5d to reach the same peaks. Now that I do a lot of interviews I sought after the Sennheiser G3 for my wireless lavalier solution for that reason. In both the transmitter and receiver I can crank up the sensitivity of the mics and not have to rely on the preamps on the camera. Normally, I’d record into a dedicated unit like the Tascam DR-40 (great because you can automatically record a second “safety track” at -6db, or whatever level you desire) but it’s awesome to have in run n gun situations. I shot footage for a kickstarter campaign and it was great to mount the G3 on the hotshoe of the 5d and not have to sync audio later.

Screen Shot 2013-08-28 at 11.22.28 PM

I’m ten times better, more experienced and more efficient now and the technical stuff does bother me. However, as a great example of content trumping all, I found myself still thoroughly entertained and laughing when watching these two interact with each other.

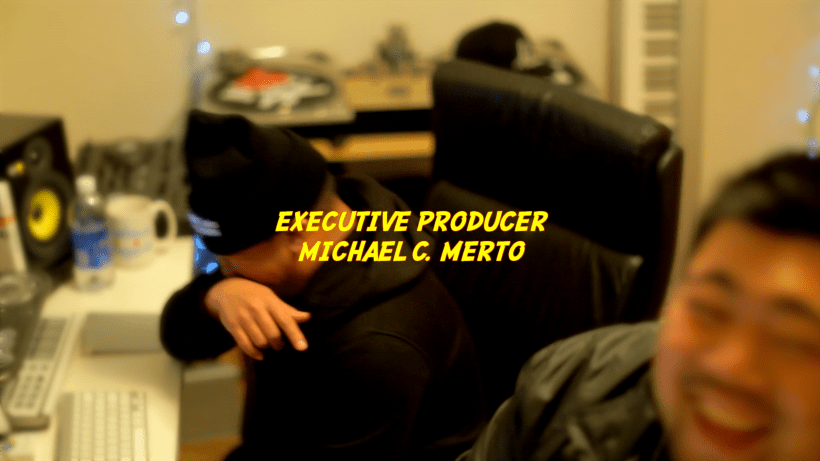
Here’s everything shot from the teasers, trailers, horribly shot episode #1, and some pieces that to me will always make me laugh.

Mark really is a talented musician, I especially like his reggae mixes. Check them out HERE:

Advertisement

Make ’em See – Music by Richie FaReal

MCM_Richie_Aug_18_2013-3

Richie FaReal is a super talented musician. He’s a songwriter/producer/rapper with music that I actually listen to which is a bonus not to have to generate love for a project.  Over the span of two days we maneuvered across San Francisco finding locations to shoot. My goal is always to capture the most minimalistic, clean and sharp images but this project organically turned into something that I thought was better suited to view as desaturated, black & white, gritty and grainy. Most of the performance was shot months ago but scheduling conflicts kept me from completing this. Richie and his manager did an outstanding job creating an official music video (here) that Richie actually heavily edited himself, talented guy. A window opened up and I wanted to complete what I started and here’s the result.

MCM_Richie_Aug_18_2013-4

Since the official version was so clean and elegant, I thought we would go for the opposite, which became the goal months after the first day of shooting. Everything was captured with a Canon 5d Mark iii in plain h.264 with Cinestyle as the picture profile. A variety of lenses were used including the 50 1.2, 16-35 2.8 ii, 135 f2, 24-105 f4 and 100 2.8 macro is. We occasionally used a 160 led lite panel, especially for the performance sequence with smoke. Richie was completely backlit for that with a second lite panel used for fill. I shot as high iso 6400 and was wide open most of the time. We also drove around San Francisco with a Canon EOS M suction cupped to the rear passenger window. The Manfrotto Fig Rig got a lot of play during walking shots. Otherwise things were kept minimal incase we needed to run!

My favorite lens was the Canon 135 f2l, the bokeh is perfectly round and the out of focus bits looks sort of anamorphic-ally stretched. Everything was loaded into FCPX and synced with Plural Eyes 3. Color Grading was kept to a minimum, as I prefer Cinestyle’s flat look in the instance. So I desaturated the shadows and performed a Black and White conversion to a few of the angles. Worked with the red channel for the conversion and and applied a LUT s-curve to them as b&w lends itself nicely to contrasty footage. Added a touch of grain and then some more. Two levels of sharpening, USM and FCPX sharpen tool.

MCM_Richie_Aug_18_2013

You can download Richie’s music for FREE over HERE.

A Real Life Warrior

Screen Shot 2013-06-09 at 10.52.51 PM (2)

I got an opportunity I couldn’t pass up. A long time ago my dad brought home UFC 1 when it was banned years ago and we became fans from the beginning. This was when people came in with styles like ninjitsu and sumo. No gloves, no rules. I’ve been following the sport since. Film editing has been an adventure and I wouldn’t trade it right now for anything, but the hours are crazy! 10 – 14 hours a day on the same chair. So when a free day rolls around I’m all for it. “IT” means, in my case, a full on assault on doing nothing.

The opportunity came in the form of a UFC fighter that wanted to do a video, updating friends, family and fans on his progress from an injury. I decided to take my one free day to travel to meet him. It was a gruesome injury that blew out his knee. The warrior he was had no doubts that rehab was the next step because there wasn’t a question as to if he wanted to fight again. I’d have my doubts. He didn’t.

Josh Clopton moved to San Francisco, specifically to train with his idol, Gilbert Melendez at El Nino Training Facility. It’s an awesome location and everyone there was super friendly. Gilbert was even there fresh off his championship match with Benson Henderson to lend some words to Josh. For those that don’t know, Gilbert along with Jake Shields and the Diaz brothers form the skrap pack. It’s a highly successful group of crowned MMA fighters that fought in Strikeforce and now the UFC. It’s a testament to the skill level Josh is at that he is a part of this elite group.

A former IT guy from a small town, Josh made it The Ultimate Fighter television series and the UFC. From what I can tell, his work ethic is unbelievable. His will is undeniable. Upon meeting, I realized I towered over him (I stand 6’3″). A part of me thought, I could easily land a take down and turn this guy’s lights out. Then we filmed a section of him on the heavy bag. That part of me quickly left. Any thoughts like that ran away with dust trails. This guy is a beast.

I filmed this piece with the 5d mark iii as my main camera, still hesitant to shoot RAW on a gig like this. I used the 7d with a 50 1.2 for parts of the interview portion. Audio was captured with a Sennheiser G3 or a Rode VideoMic Pro. Other lenses I used were the 70-200 2.8L is ii and the 16-35 2.8L ii. The telephoto was good for the main interview shot, it condenses the background, and gives a nice bokeh for a very cinematic look. The wide angle paired with the Manfrotto Fig Rig was great for the training shots where I circled Josh while he shadow boxed. I love the steadicam look but don’t ever have the time to balance it. I decided on the Fig Rig because I can achieve similar shots but it’s super quick to attach a camera to it since I’m in the Manfrotto system and everything I have has a quick release. The outdoor shots at night were done with the 50 1.2 wide open with the 5d Mark 3 at iso 6400. No denoise applied. Not bad! Josh liked this song called Saturday NIght by Travis Barker and wanted to integrate that into the video. I also liked the Warrior soundtrack and thought it was a fitting, albeit obvious, backdrop to the initial arc of the story. I shot this thing at 7pm and finished editing at 3:30am the next morning.

The important part was the story. Josh has an inspiring one. I’m a fan of his and will be rooting for him come August 3, 2013 when he flies to Rio De Janeiro for his fight at UFC 163.

Please check out the video and hit the Like button. Thanks!

Director’s Version:
Saturday Night is a great song that fits nicely with the message Josh has. In this case I wanted to the feel of the opening soundtrack to permeate through to the end. I also desaturated the highlights and blacks while boosting the midtones. Finally, a small touch of film grain. I thought overall it gives it a more dramatic and cinematic tone.

Thoughts on FCPX multi cam

FCPX-icon

I think it’s great that so many features are built into FCPX that allows me to stay there. Things that in the past required me to take something out of it and into Motion or After Effects are simple and easy to use plugins in Final Cut. I can quickly color correct, key and add titles. FCPX’s Multicam feature unfortunately fall short.

Very often I’m stuck having to use Plural Eyes 3 to sync and then re-import back into FCPX. Some of the things I’ve noticed are:

1. anything more than about 6 clips and FCPX multicam will have trouble and/or take substantially longer than plural eyes to sync

2. clipped audio may result in unsyced clips

3. each clip will get its own track. In other words if i shot 4 clips on the 5d, instead of making one continuous track it will get split into four tracks which sucks when editing.

side note:  I edit on a 15″ Macbook Retina and multicam clips present a real challenge especially since I’m only at 8gb of ram. So I change the timeline viewer to no thumbnail and edit on a single screen when cutting realtime.

Even with all these drawbacks I still find ways to use it. I had to edit a basic music video for a client. He shot it and gave me the footage. Wide, medium and close. 2 takes each. 6 angles plus audio at under 3 minutes. Used FCPX multi cam and it synced it perfectly and quick. VIdeo was shot in black and white. I recommend not doing that, you can always remove color in post but you cant put it back in. I don’t like black and white personally, but I understand the motive for it. I thought I could achieve the same feel by adding some blues into the shadow. Music video done in record time. Thanks in part to FCPX’s built in Multicam.

Here it is:

Rapid Fire

FCPX-icon

I’m really excited over a couple things. First I know Apple just released version 10.0.8 for Final Cut. Most of the changes don’t seem to affect me or help to speed my workflow. Having support for Sony’s 4k codec is not something that concerns me at the moment, nor is support for Alexa’s log. The positive thing is Apple is finally admitting that they lost professional users and are publicly making a bid to get them back.

Finally, the Wolverine trailer is out! The franchise took a big hit when Darren Aronofsky (Black Swan, the Wrestler, Pi) stepped out of production. His presence made Wolverine look promising especially after the first origins movie. However, they did get Walk the Line and 3:10 to Yuma director James Mangold to helm after Darren’s departure. That’s more than a healthy alternative.

FCPX 10.0.7 Quick Review

FCPX-icon

I came from Premiere Pro ages ago when Final Cut was the industry standard. When Apple decided to overhaul everything in FCPX, i jumped on board. It seems as though everyone went to CS6. The monthly membership to Adobe’s Cloud sounded supremely enticing but Final Cut Pro X worked well enough for me. I’m glad I stuck with it because whoa did 10.0.7 (apparently this happened with 10.0.6 but I was late to update) supercharge everything. Now I still have some issues with exporting FCPXML into DaVinci Resolve and it’s still NOT easy to go between Motion and Final Cut, but this truly feels like a pro editing piece of software now. Toss those “glorified iMovie” references out the window.

I’m somewhat distinguished for my speedy delivery. A huge reason is FCPX. Clip and audio syncing (no more Plural Eyes), magnetic timeline, and robust Color Board with Paste Attributes all help me deliver projects quickly. The Retina support also means I don’t have to rely on my Thunderbolt Display. Full HD in a small window with video scopes on. Wow!

I also use Western Digital’s 2 tb passport. With USB 3.0 on FCPX 10.0.4 things were choppy and sluggish. I would import everything onto the limited SSD in my Macbook and duplicate everything when the project was done. Rendering and transfering time is now cut in half because somehow after the upgrade, I can edit directly from the external harddrive. Of course when I stack 4-5 adjustment layers, I’ll see hiccups and the occasional spinning beach ball from color hell but it’s worth it and I remain extremely mobile.

Give it FCPX a shot!

Work, Work, Work

Wow. Time passed by quick. Half the month is over and I haven’t posted in the new year. My apologies. I’ve now filled all seven days of the week with work, multiple jobs on most days, and I’d be lying if I didn’t say I my anxiety levels are going through the roof. I want to do well but sometimes I feel like I’m spreading myself thin and the quality of work suffers. I hope everyone’s happy.

I’ve been getting just a few hours of sleep and came across Phillip Bloom’s recent post here. Now don’t get me wrong, I’d rather have more work than less, and it’s amazing that I get work with amazingly talented and genuine people, but his story makes you think. Maybe it’s just because I look up to the guy and his talent. For now, as long as I stay focused on the moment, it’s wonderful.

I’m working with an uber-talented squad of musicians. They’ve aspired to make some monthly web episodes to highlight what a hilarious bunch they are. Here’s a test run of the opener. Full pilot episode should air Monday. I wanted a Leverne and Shirley vibe but they opted for this.

They cut that track and it’s huge bonus to work with artists that produce music you would buy.

Here’s what the pilot episode’s timeline looks right now. I prefer FCPX’s workflow but it’s a pain sometimes.

Screen Shot 2013-01-16 at 1.05.20 AM

Stay Tuned but check them out here for now:

Thefratmusic.tumblr.com
Thefratmusic.com
@thefratmusic on twitter

Pocket Camera Cinematic Challenge

There are certain rules when it comes to creating cinematic moving pictures. Shoot in 24 frames per second (or 23.98fps exactly). Record in widescreen formats, either 16:9 or 1.85:1 (anamorphic 2.35:1 looks really epic too). De-saturate and get some shallow depth of field shots.

I wanted to see what these rules would look like with a pocket camera as the recording device. Case subject: Sony HX9V. A pocket camera from last year with middle of the road reviews but regarded as a decent video shooter.

The biggest challenge was the small sensor. This meant making sure there was adequate light, as a lack of it would lead to noise reduction activation and a resulting super soft image. The other disadvantage of the small sensor, compared to the larger ones found in DSLRs, is the lack of shallow depth of field. Everything is focus, which has it’s advantages for sure. People definitely and defiantly overuse this effect. I’m guilty of it too. To overcome this I had to focus really close and use the camera’s good macro mode and to zoom in and switch focus locks.

Most of everything else was done on Final Cut Pro X. The HX9V records in 60 or 30 frames per second 1080p only but the 60p conforms nicely in FCPX to a 24p timeline. The added bonus is being able to slow mo any recorded scene smoothly since the editor has 60 frames to work with instead of 24 traditionally. I recorded in 16:9 but added some additional crops for a 1.85:1 ration. Finally I took saturation far down, the colors are actually quite nice on the camera, and added a slight vignette. Finally I added some slight orange, purple and teal.


Sony’s HX9V, and assume the replacement HX20V & HX30V, produces some sharp images that rival the GH2’s resolving power when there is sufficient light. There are two image stabilization modes that can be used together. One is optical, in the lens, and the other is software that when combined has a VERY smooth effect. Probably best I’ve used and similar to what a couple hundred dollar steady cam would achieve. The 16x zoom (20x on the newer HX20v) is pretty amazing as well as it effectively gives me a walk-around 24-385mm lens that fits in my pocket! Best of all you can probably find one used for a hundred bucks if you hunt around.

Sidenote: Stills suck, comparable to iPhone 4 photos.

So here are the results using a day of random shots:

See how this bite-sized camera stacks up against DSLRs 4-7 times the price.

Optical Flow

These tips stem from the fact that I have shaky hands. It started out with the intention to, for myself, pixel peep the Apocalypse Now 444 GOP 12-15 Soft hack on the GH2. I slapped on the Fotodiox Alpha A mount adapter, which I can recommend (has an aperture ring built in), and fixed a 35mm 1.8 lens. I paired this setup with the Pico Skater Dolly, found a flat wooden plank and shot different parts of the house.

After I imported the footage into FCPX, I discovered that on some shots I panned slow, on others too fast. In fact, I decided I wanted a much slower dolly effect after finding the music I wished to pair with it (Leather Wings by This Will Destroy You). Being lazy I decided to retime everything and smooth it out with FCPX’s built in Optical Flow.

Obviously getting the shot right in camera is ideal but in a pinch I thought it looked pretty good. There seems to be some warping effect on the intro scene around the asian fan lift. What do you think?